3 EASY STEPS TO LEARN HOW TO REPLACE SILICONE SEALANT
Materials & Tools:
- Plastic sheet
- Masking tape
- Snap-off blade knife
- Silicone scraper
- Sealant remover
- White spirit
- Smoothing tool
- Sealant applicator gun
- Kitchen roll
- Level 5 cut gloves
- Plastic gloves
- Refuse bag
- Silicone sealant
STEP 1: PREPARATION
The first thing you need to do after buying the required materials and tools is to prepare the area for removing and applying new silicone.
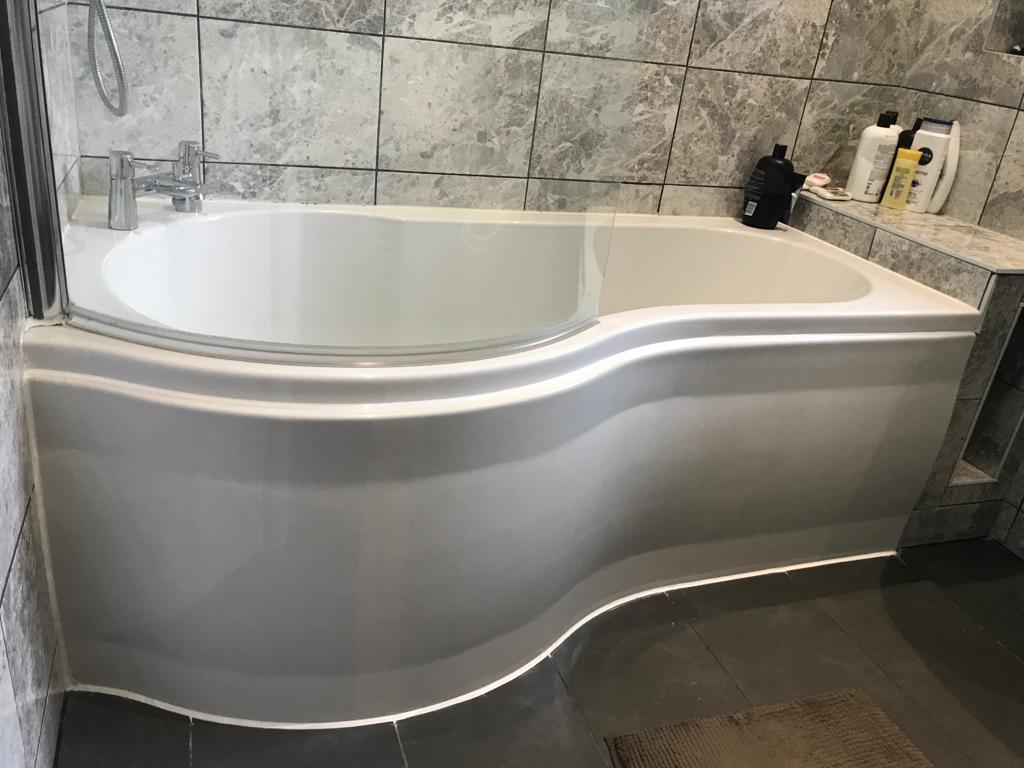
If you are replacing the bath sealant, tape the plastic sheet around the bath edges with masking tape leaving 6-8 cm between the tape and the old sealant.
This will prevent old sealant pieces from going into the bath drain and makes your life easier when is time to apply a new sealant.
STEP 2: REMOVE OLD SILICONE
Level cut 5 gloves are to be used at this stage to protect yourself.
- Use the knive to cut and remove the sealant from both directions(horizontal and vertical or left and right). Keep the blade as flat as you can to the surface and start removing the old sealant. By doing so you decrease the chance of damaging the adjacent surface.
- After removing most of the old sealant use the silicone remover to brush over the remaining sealant bits and leave it to react according to the specifications on the label.
- Using the sealant scraper tool remove the remaining sealant.
- Using a kitchen towel and white spirit clean the area well until you are left with a clean surface.
- It is extremely important to pay extra attention to the above steps. If you do not, the new sealant application may fail you in couple of weeks or months.
STEP 3: APPLY NEW SEALANT
When replacing the bath sealant, remove the plastic sheet and fill the bath with water before following the bellow instructions.
- Cut the top of the sealant tube off.
- Cut the 1-2 cm of the nozzle according to the bead size that you wish to apply. E.g. If you are planing to use the size 8 smoothing tool the end diameter of the nozzle should be 9-10 mm. If done properly there will be only a small amount of silicone left to be removed with the smoothing tool at the end.
- Start applying the sealant holding the nozzle at 45° firmly pressed against the surface. Apply the sealant along the whole edge with a slow and steady pace.
- Once you finished applying the sealant you can now start to remove the excess with the help of the smoothing tool. Keep the smoothing tool perpendicular to the surface and drag it slowly from one side to the other. Use the kitchen paper to clean the smoothing tool when you notice that too much sealant has accumulated or if you have finished one edge.
- Repeat the above steps for all the other edges.
- Once you have finished applying the new sealant the sealant needs to be left to cure according to the label instructions(6-12 hours).
This is all you need to know in order to learn how to replace the silicone sealant. There are numerous YouTube videos describing the above steps, just make sure to follow the instructions and you will have a professional finish every time.
Comments are closed.